Trello is a popular project management tool that offers a wide range of features to enhance productivity and collaboration. However, did you know that you can also personalize Trello to match your unique preferences and workflow? In this article, we’ll explore ten different ways to customize Trello, from changing themes to creating shortcuts. Let’s dive in and discover how you can make Trello truly your own.
Theme and Background Customization
- Changing Themes: Trello allows you to change the overall look and feel of the app by selecting different themes. To change the theme, click on your profile avatar in the top-right corner of the Trello interface and select “Settings”. In the “Settings” menu, navigate to the “Appearance” section and choose a theme from the available options. Themes include light, dark, and various vibrant colors. Select a theme that suits your personal style and makes Trello more visually appealing to you.
- Setting Background Images: Personalize your Trello boards by adding custom background images. To set a background image, open the board, click on the board’s name at the top, and select “Change Background”. In the “Change Background” menu, you can choose from a variety of preloaded images or upload your own. Select an image that resonates with the project or use a custom image that inspires you. Custom backgrounds can help differentiate between boards and add a touch of personalization.
Board and List Customization
- Cover Images: Make your boards visually appealing and easier to recognize by adding cover images. To add a cover image, open the board, click on the board’s name at the top, and select “Change Background”. In the “Change Background” menu, choose “Cover” and select an image from the available options or upload your own. Cover images can represent the project or task at hand, making it easier to identify boards at a glance.
- Labels: Labels in Trello help categorize and organize cards within a board. Customize your labels by assigning different colors and names to represent specific categories or priorities. To create or edit labels, open a board, click on the “Show Menu” button on the right side, and select “Labels”. From there, you can create new labels, assign colors, and apply them to cards. Personalizing labels ensures that you can quickly identify and sort cards based on your preferred categories.
Card and Checklist Customization
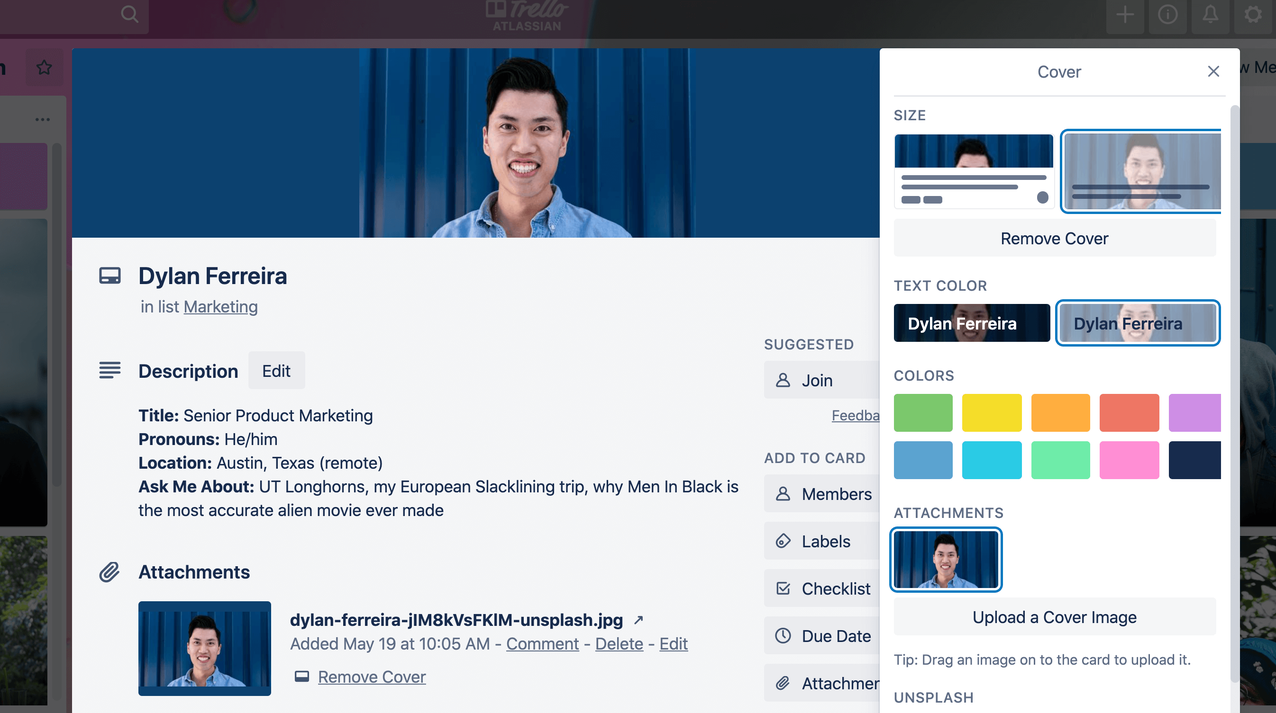
- Card Covers: Adding covers to individual cards can provide visual context and make them more engaging. To add a card cover, open the card, click on the card’s name at the top, and select “Cover”. Choose an image from the available options or upload your own. Card covers are especially useful when working with visual content, such as design mockups or project illustrations. They make your cards stand out and add a personal touch to your boards.
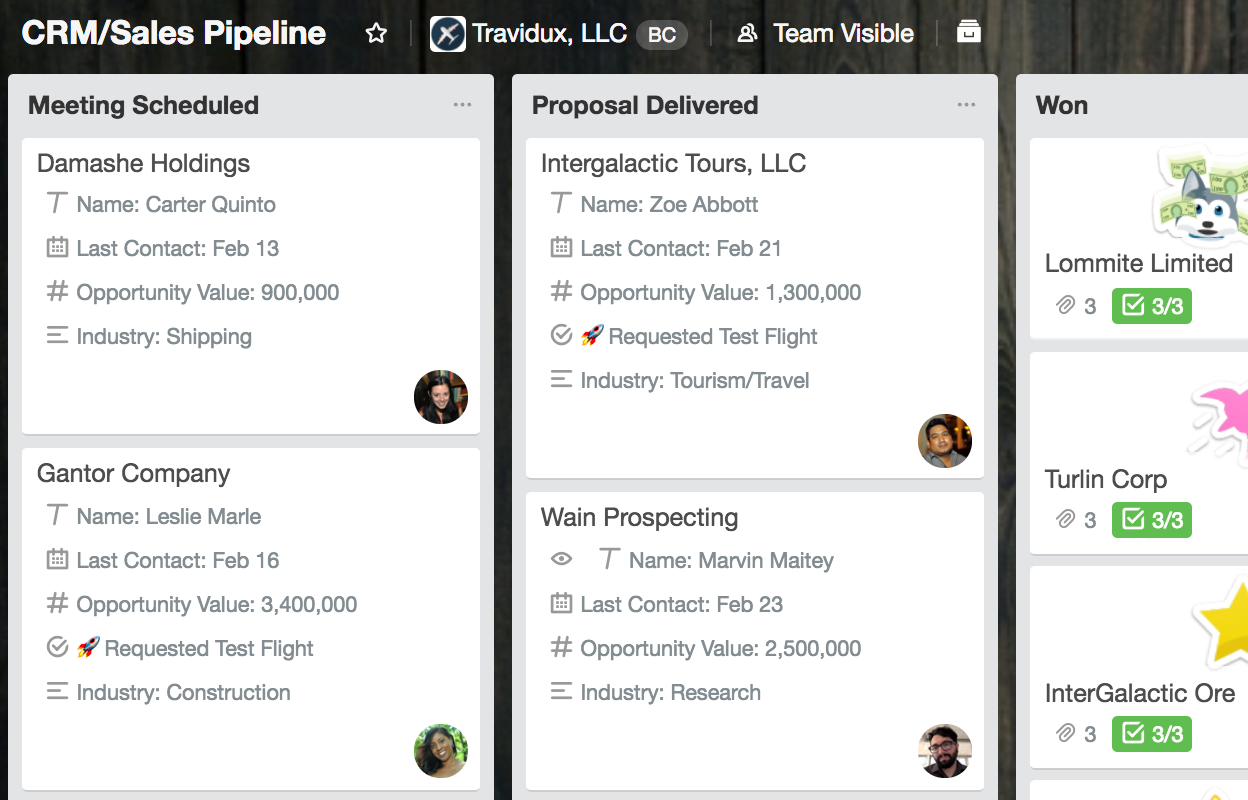
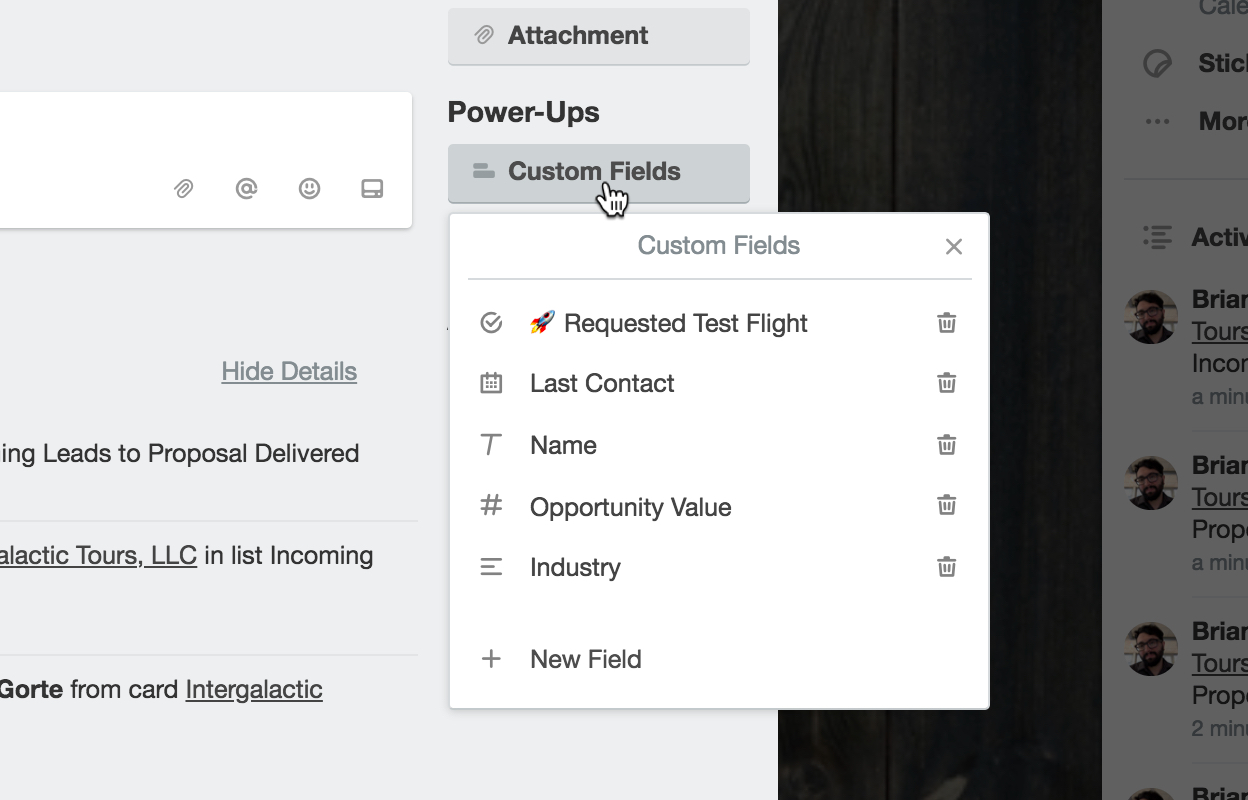
- Custom Fields: Trello’s custom fields feature allows you to add additional data and information to your cards. You can create custom fields to track specific metrics, add due dates, or even attach files. To create custom fields, open a board, click on the “Show Menu” button, and select “Custom Fields”. From there, you can create new fields, choose the field type (such as text, number, date, or dropdown), and apply them to cards. Custom fields enable you to tailor Trello to your specific project requirements and capture relevant information efficiently.
Shortcuts and Power-Ups
- Keyboard Shortcuts: Trello offers a range of keyboard shortcuts to streamline your workflow and navigation. Familiarize yourself with these shortcuts to save time and increase efficiency. To view the available keyboard shortcuts, press “?” on your keyboard while in Trello. This will open the shortcut menu, where you can see a list of all the available shortcuts. From creating new cards to moving between boards, these shortcuts can significantly enhance your productivity.
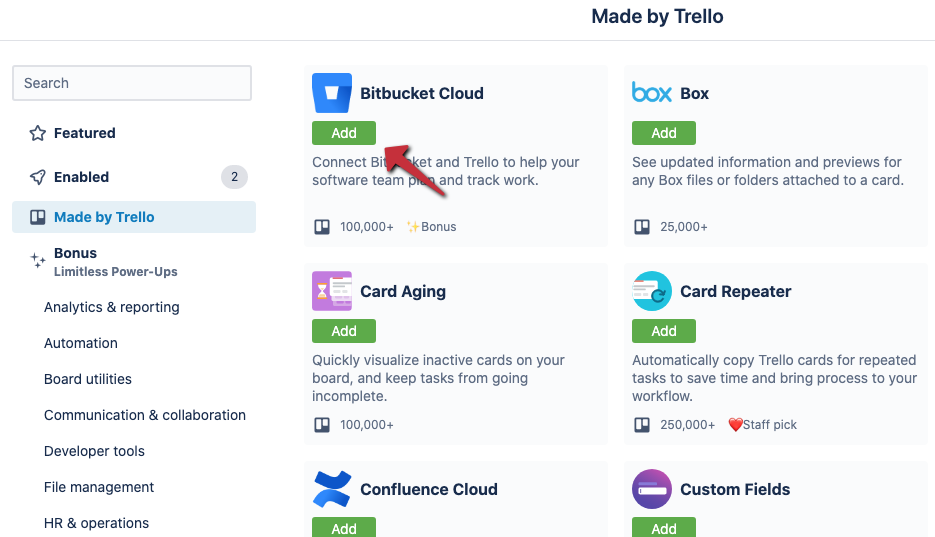
- Power-Ups: Power-Ups are integrations and additional features that you can enable in Trello to extend its functionality. There are numerous Power-Ups available, including Google Drive, Slack, and Calendar integrations, as well as additional features like voting systems and custom fields. To enable Power-Ups, open a board, click on the “Show Menu” button, and select “Power-Ups”. Browse through the available Power-Ups and enable the ones that align with your workflow and project requirements. Customizing Trello with Power-Ups allows you to integrate other tools and optimize your productivity within the app.
Notifications and Email Preferences
- Notification Settings: Trello’s notification settings allow you to choose how and when you receive notifications about board activity. To access these settings, click on your profile avatar in the top-right corner, select “Settings”, and navigate to the “Notifications” sectionPart 5: Notifications and Email Preferences
- Notification Settings: Trello’s notification settings allow you to choose how and when you receive notifications about board activity. To access these settings, click on your profile avatar in the top-right corner, select “Settings”, and navigate to the “Notifications” section. From there, you can customize your notification preferences for various activities, such as card assignments, due dates, mentions, and more. Tailor the settings to suit your needs and ensure that you stay informed without being overwhelmed by notifications.
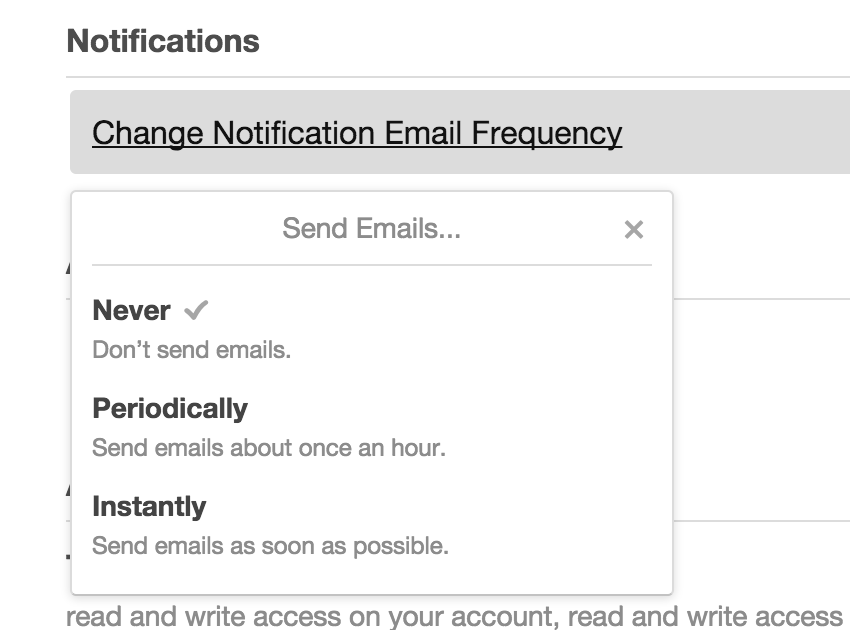
- Email Preferences: Trello also provides options to customize your email notifications. If you prefer to receive updates and activity summaries via email, you can configure your email preferences to match your requirements. To adjust these settings, click on your profile avatar, select “Settings”, and go to the “Email Notifications” section. Here, you can choose when to receive email notifications, whether it’s for all activity, only unread notifications, or specific actions. By customizing your email preferences, you can stay up to date with Trello even when you’re away from the app.
With these ten customization tips, you can transform Trello into a personalized productivity tool that caters to your preferences and workflow. Remember to explore the various options, experiment with different themes, backgrounds, and settings, and find what works best for you. Trello’s flexibility and customization options make it a versatile platform that adapts to your needs, helping you stay organized and focused on your projects. Share your own customization tips and tricks in the comments below and let’s make Trello truly our own!